From Faded to Fabulous: Restaining Your Wood Doors Like a Pro


Introduction: Wood doors are not only functional but also add warmth and elegance to any home. Over time, however, they may lose their luster and suffer from fading due to exposure to sunlight and general wear. If your wood doors are in need of a makeover, restaining them can breathe new life into your entryway. In this guide, we will walk you through the step-by-step process of restaining your wood doors, allowing you to achieve a stunning transformation.

Step 1: Assessing the Condition Before diving into the restaining process, take a moment to assess the condition of your wood doors. Note any areas that require extra attention, such as sun-damaged or rough sections. This evaluation will help you determine the level of sanding and preparation needed.
Step 2: Sanding for a Fresh Start To prepare the doors for restaining, start by sanding them to remove the old sealant and create a smooth surface. Using a 220-grit sandpaper and a sanding block, gently sand the doors in the direction of the wood grain. While achieving an even sanding may be challenging, focus on creating a clean and consistent surface.

Step 3: Wiping Down and Preparing the Surface Once you are satisfied with the sanding, use a tack cloth to wipe down the doors and remove any residual dust or debris. This step is crucial to ensure a clean and smooth surface for optimal stain application.
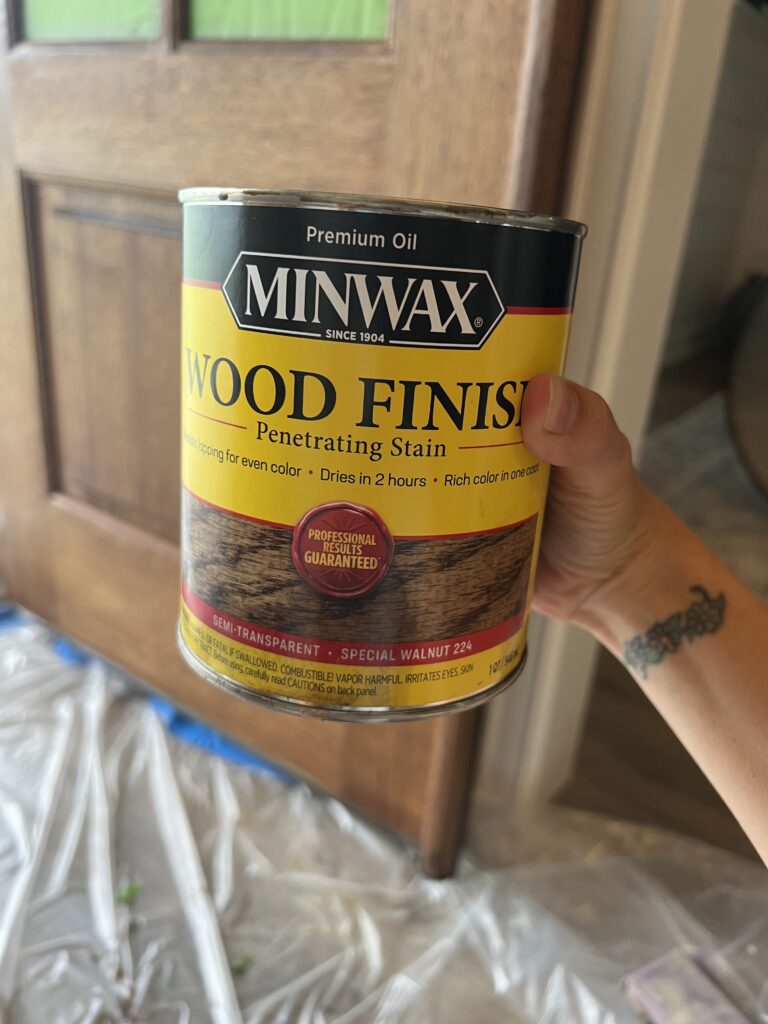
Step 4: Choosing the Right Stain Selecting the appropriate stain for your wood doors is key to achieving your desired result. Consider factors such as the existing color, level of darkness, and compatibility with the wood type. For instance, if you wish to deepen the color, using a stain like Minwax Special Walnut can provide a rich and lustrous finish.
Step 5: Applying the Stain Using an old rag, apply the stain to the doors, following the direction of the wood grain. Ensure an even coat, paying extra attention to areas that may require more coverage. After the first coat, allow the stain to sit for the recommended time indicated on the stain can, typically around 4 hours.
Step 6: Sanding and Second Coat Application Once the initial coat has dried, lightly sand the doors using 400-grit sandpaper. This step helps to smooth the surface and create a better bond for the second coat of stain. After sanding, use the tack cloth to remove any dust before applying the second coat of stain. Apply the stain sparingly, focusing on achieving an even and consistent color.
Step 7: Sealing the Deal To protect and enhance the appearance of your newly restained doors, apply a clear sealer. Select a sealer specifically designed for wood doors, and apply it with a paintbrush. Ensure you follow the grain of the wood, allowing the sealer to penetrate effectively. Apply a thin and even layer, allowing the sealer to set and dry according to the product instructions.

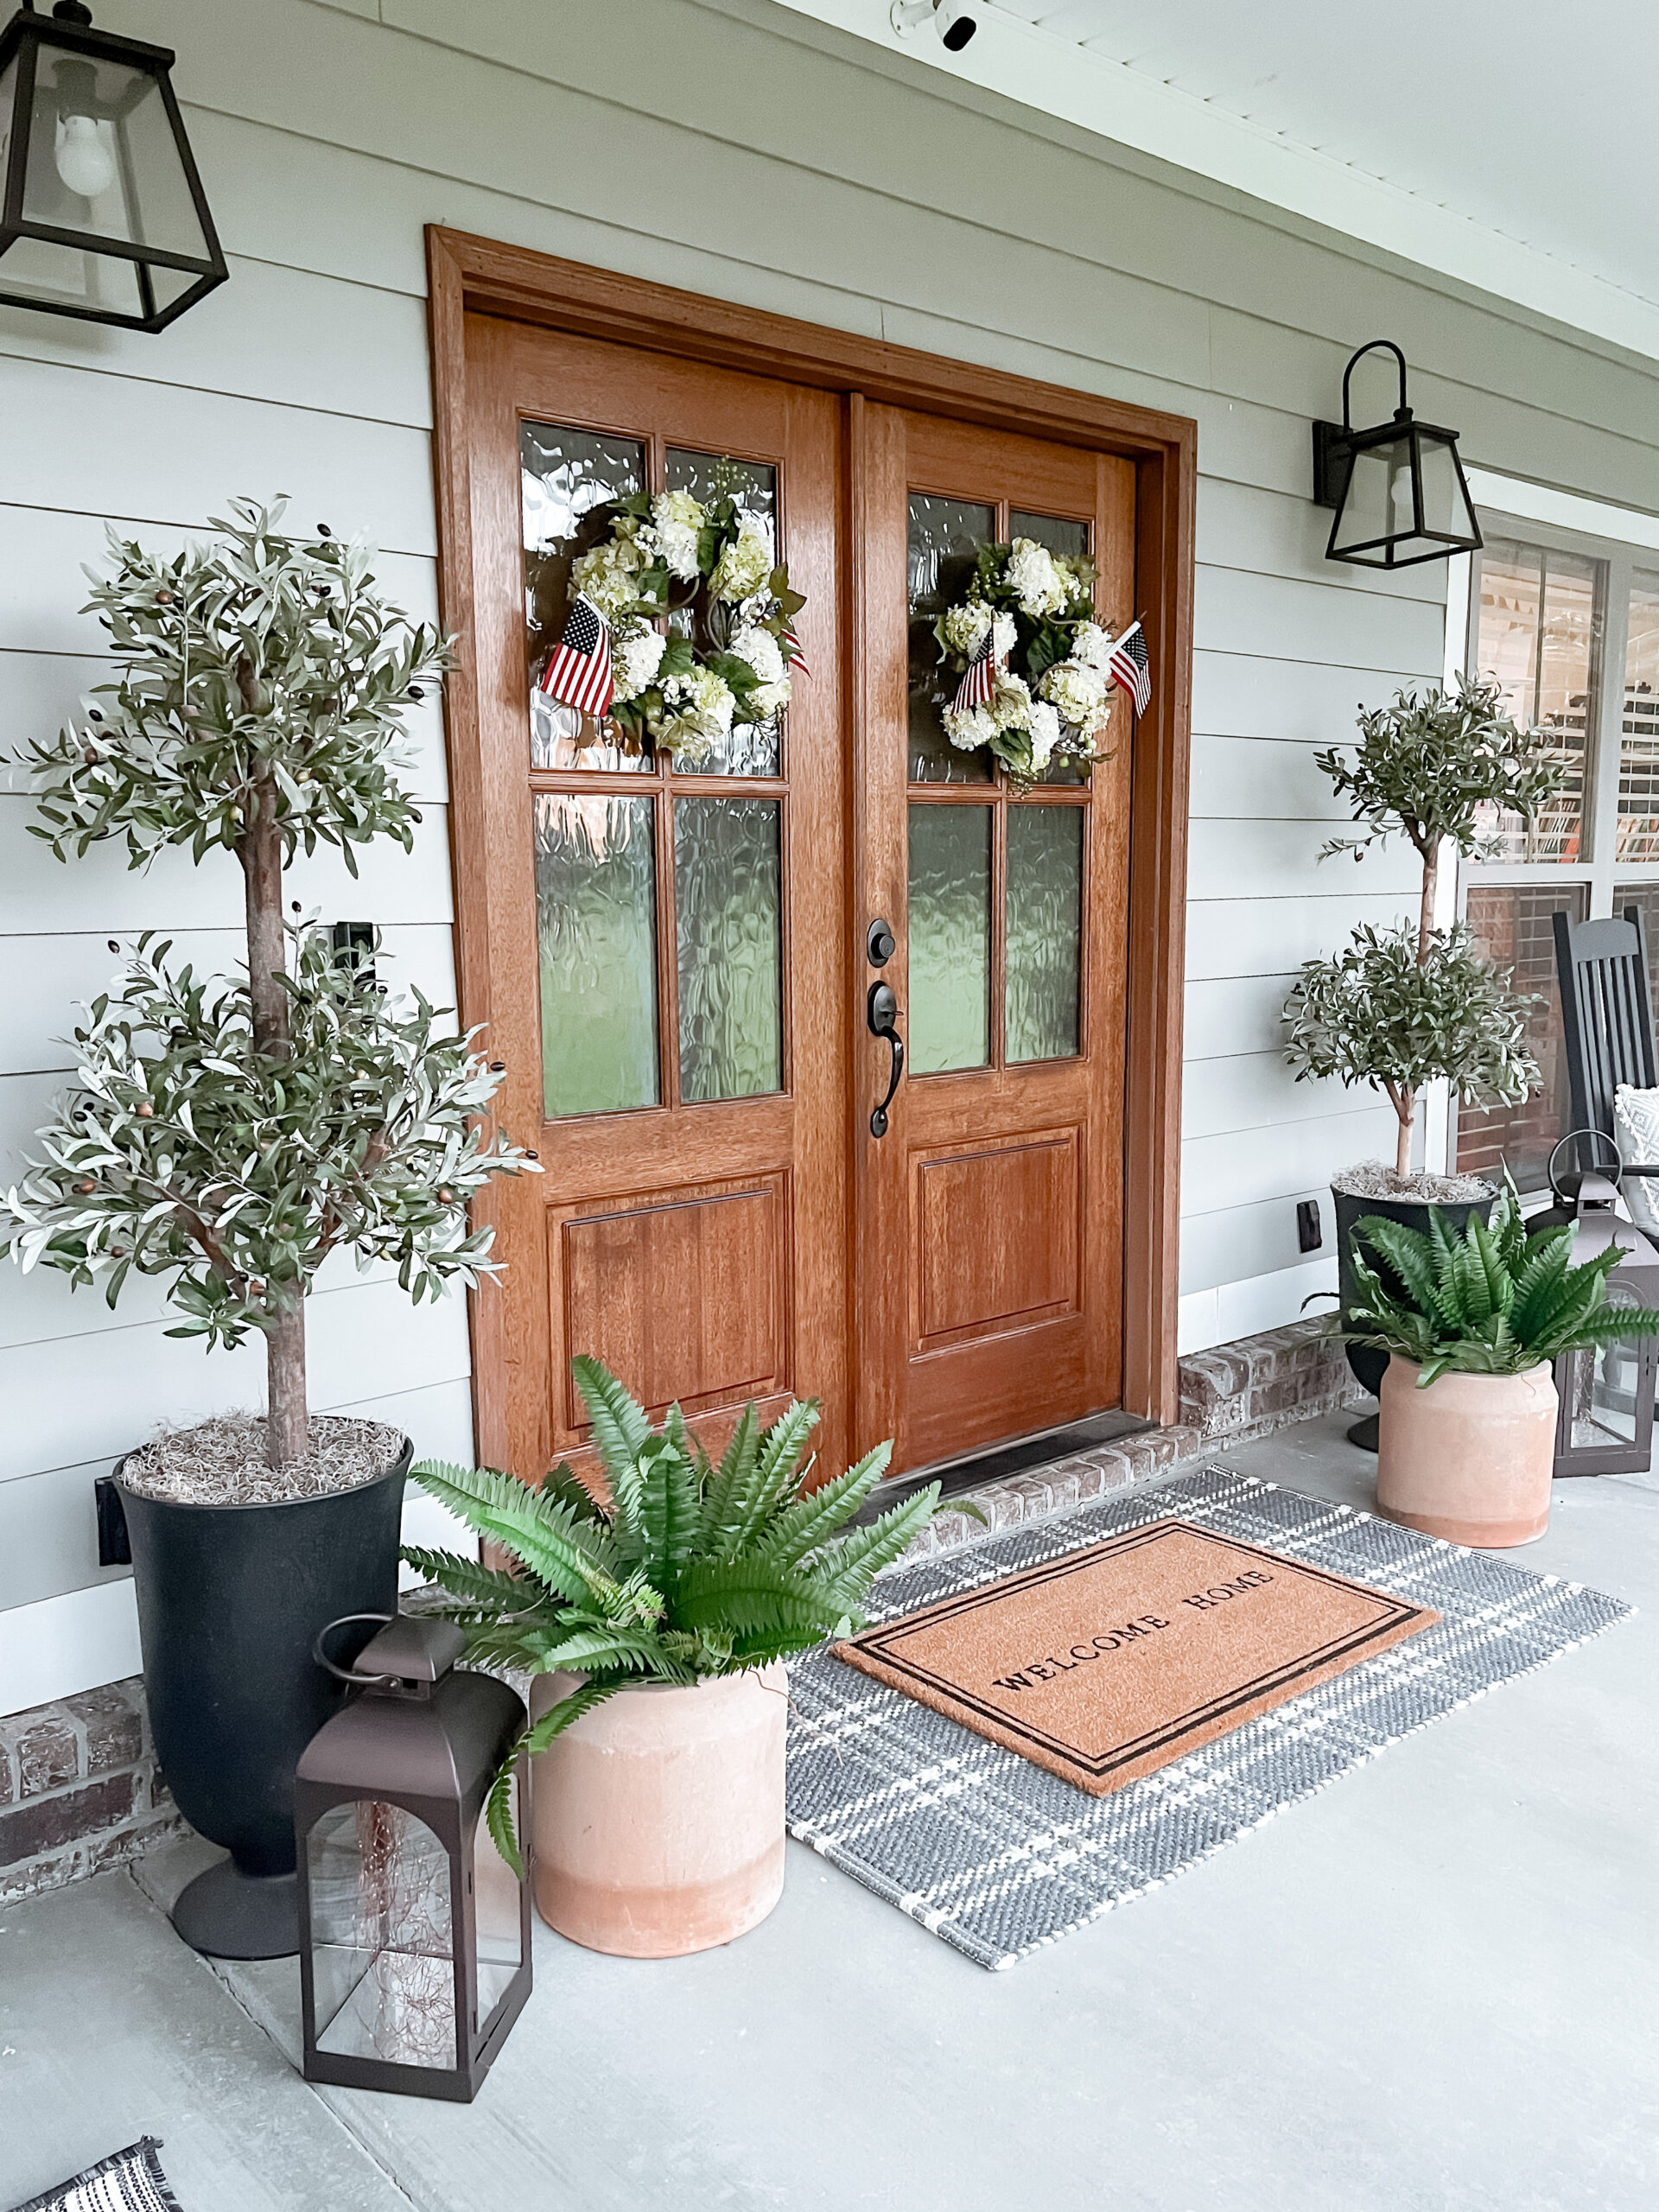
Step 8: Admire Your Transformed Doors After allowing sufficient drying time, step back and marvel at the remarkable transformation of your wood doors. The restaining process has revived their natural beauty, giving your entryway a fresh and inviting look. Take a moment to appreciate your hard work and the renewed elegance it has brought to your home.

Conclusion: Restaining wood doors is a rewarding and relatively simple DIY project that can transform the appearance of your home’s entryway. By following these step-by-step instructions and using quality products, you can bring new life to your wood doors and enhance the overall aesthetic of your home. Embrace the process, and enjoy the satisfaction of creating a stunning entrance that welcomes both family and guests with its renewed charm.